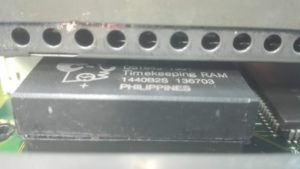
The player wasn’t reading any discs and the Timekeeper was dead.
Here we are going to solve all those problems, together!
If you still don’t know the reason why you should change your CD-i player’s Timekeeper, please read this article.
You can get a new Timekeeper over the internet (ebay, Amazon) or contacting Darius on our Community Forum.
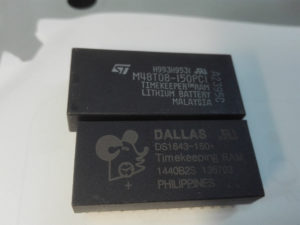
You can use one of those Timekeepers:
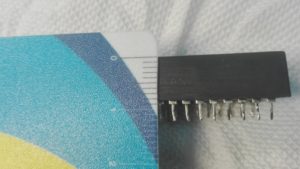
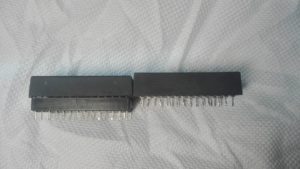
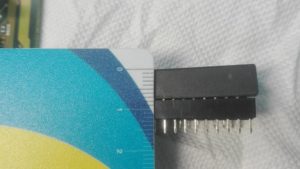
MK48T08B15, M48T08, M48T18 or DS1643
The one used in this tutorial is DS1643.
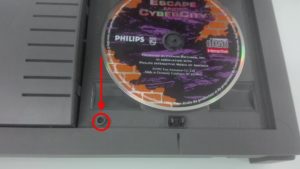
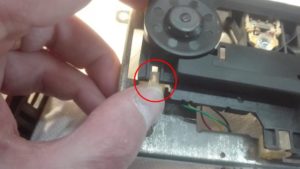
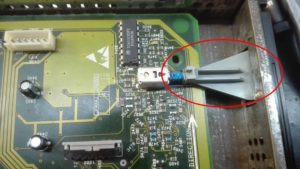
When you buy a CD-i 450 or 550, and the disc isn’t read from the player, the 1st thing you should do at home to verify if it spins. As the CD isn’t into a gate like other models, here is what to do to check it.
1- Turn your CD-i player on, place a CD-i disc (or even an audio CD), keep the CD cover opened.
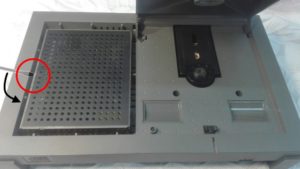
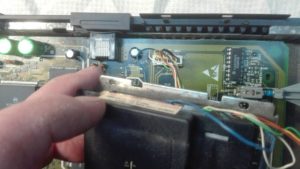
2- Using a thin screwdriver or a toothpick, press the sensor like the picture shows.
This sensor, once pressed, simulate the cover closed.
3- If the everything is OK, then, the CD will start spinning.
Usually, when a player isn’t reading any discs the problem is the CD holder from the optical drive that is stuck. Using a knife of a screw driver is enough to unstuck it.
In this case it is different because the CD holder was completely free. To verify, just use your hands to turn it and check if you feel any difficulty to turn it.
If nothing happens (no disc spinning), then let’s follow this tutorial.
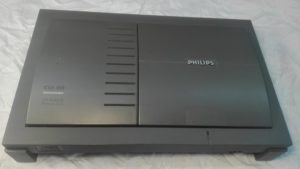
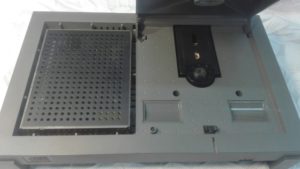
To solve all those issues (Disc not spinning and Timekeeper) , we have of course to open the player. The CD-i 450 is by far, the easier player to open. As it is a low cost version, Philips made it as simplest as possible.
1- Open the CD drive (right side).
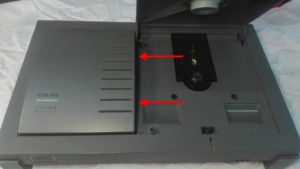
2- Using your fingers, press the 2 plastic locks from the left cover.
3- You can now see the Digital Video Cartridge (DVC) socket.
If you CD-i 450 doesn’t have any DVC installed, you don’t need to do point 4.
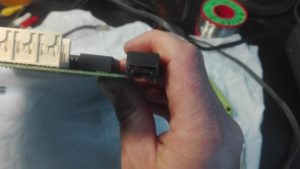
4- Using a screwdriver, place it on the orifice of the DVC just like the picture shows, and make a movement from top to bottom. This way, you will unplug the DVC from the socket.
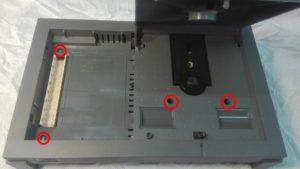
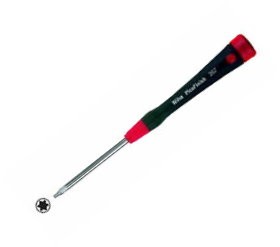
5- Use a Torx T6 to unscrew the 4 screws placed as the picture shows.
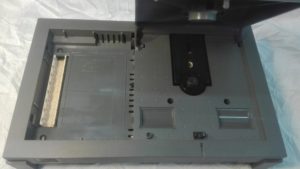
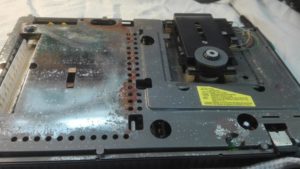
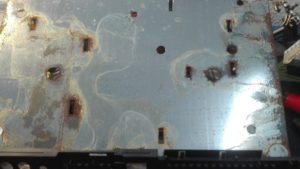
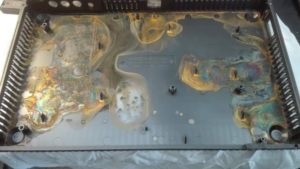
6- Remove manually the plate (this one was in bad condition due to humidity).
There is no screw to remove.
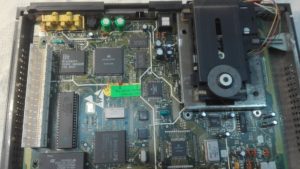
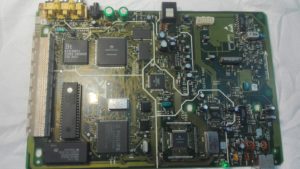
7- You now have access to the main board of the player.
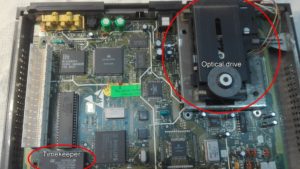
Let’s identify where are the things we want to repair.
Let’s start with the optical drive.
8- Very gently, push up the optical drive, no screws.
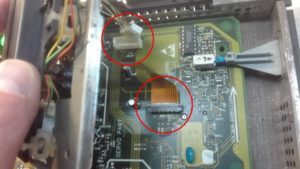
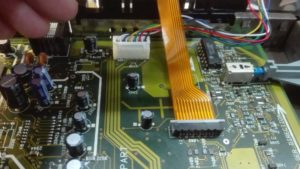
9- Unplug the power and the flat cable.
Remember, do not push to high, otherwise the flat cable can brake.
Usually, when a player isn’t reading any discs the problem is the CD holder from the optical drive that is stuck. Using a knife of a screw driver is enough to unstuck it.
In this case it is different because the CD holder was completely free. To verify, just use your hands to turn it and check if you feel any difficulty to turn it.
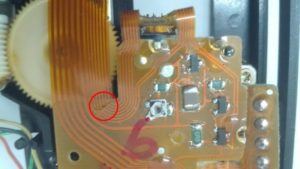
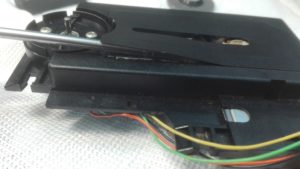
The problem here was a broken flat cable from the optical drive, as you can see in the picture.
We need to replace this optical drive to a new one.
You can easily find new ones, there is many prices available.
NOTE:
I would not buy the cheapest ones, as the disc reading can be more or less bad. If you use to copy ISO’s, the lowest quality optical drive you choose, the more error reading them you can get.
Just Google CDM 12.1 and you will find many compatible ones!
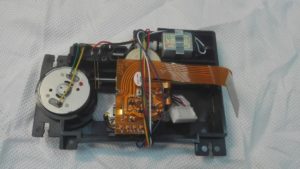
I purchased this one:
10- Once you have your new optical drive, remove the plastic Silent Blocks that are fixed on the black base.
They are 4 of them. Do it gently to avoid braking them.
11- Place them again, but this time on the new optical drive.
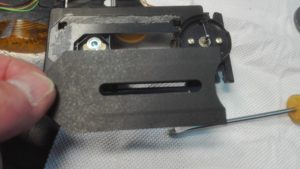
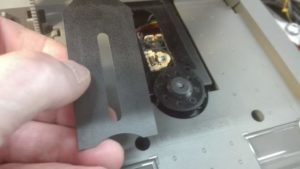
The new optical drive may not have the black protection available on the old one.
No worries, it is not important for it to work, it is more for visual and dust protection. I personally prefer have it placed, so I removed the one from the old and pasted it on the new one, like on the picture.
Now let’s change the Timekeeper.
To do that, you will need to use a solder iron at the maximum power of 30W (more than 30W may damage your board with to much heat), and a 0.5 mm solder.
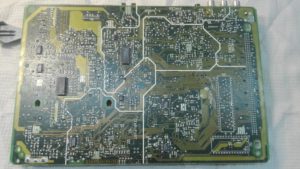
12- Remove the main board from the bottom of the player.
and turn it to the back side.
NOTE:
Take care to the power button!
Remember to remove the grey plastic piece, otherwise, it can brake.
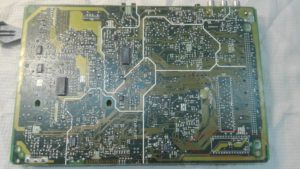
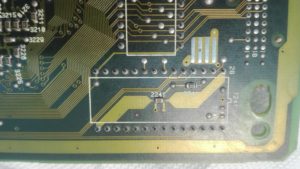
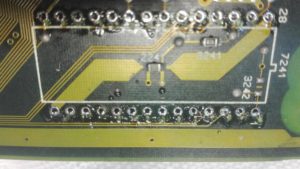
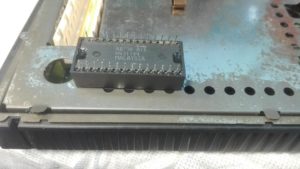
The Timekeeper is placed on the bottom left side, so once turned to the back side, the contacts to be unsoldered are on the bottom right side. 14 pins on each sides (28 pins in total).
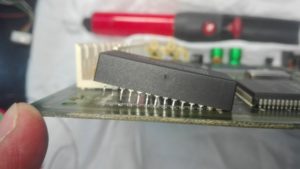
13- Unsold the timekeeper and remove him.
Remember to verify the correct side of the chip. If you wrongly place it it will change polarity of the battery and may damage the chip permanently).
NOTE:
The 450/550 models do not supports the socket holder.
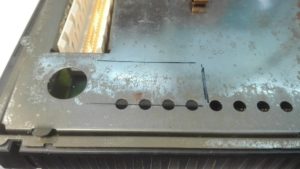
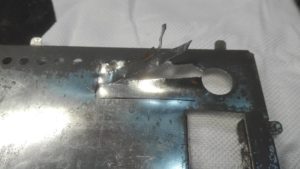
The reason is because of the metallic plate that is right upon the timekeeper, there is no space for the timekeeper + the socket.
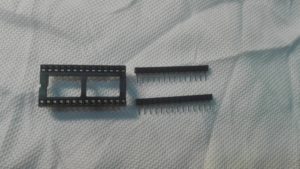
- 8 mm
- 12 mm
But I have decided to place the socket anyway and find a solution for the space.
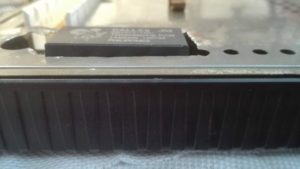
Check the pictures.
- 2 sockets choices.
- The new Timekeeper placed.
- The DVC upon the Timekeeper + Socket.
If you don’t feel comfortable doing such a cut, then, just place the new timekeeper without socket.
The bottom plate was also in bad shape, I cleaned with electrical cleaner spray (CRC 2-26).
14- Now place all the pieces back to place.
15- Connect the power cable and flat cable from the optical drive.
Be careful to not push to much, otherwise the flat cable can break.
16- Place the upper plate to place.
17- Try your CD-i player with a disc inserted and see if “Play CD-i” appears.
18- Save some settings.
19- Turn your player off, disconnect from the plug for some minutes and then plug on again and turn it on.
20- Verify if the settings are now kept.
Congratulations you have repaired your CD-i player!
Find the complete chronicle at The World of CD-I website under “Console Purist Chronicles”!
Contact: omegalfa@theworldofcdi.com
Twitter: @omegalfapt
Facebook Group: FB Support Group #theworldofcdi
Written by omegalfa, © 03/07/2020

